While the iOS has a screenshot feature built in since its early days, an official way to record your iPhone or iPad’s screen didn’t exist until iOS 8. Sure, you could use AirPlay mirroring in combination with a tool like Reflector or AirServer, but Apple’s own solution is way better.
To screen record your iPhone or iPad, you’ll need to be on iOS 8 or up, and you’ll need a Mac running OS X 10.10 Yosemite or up. Here are the step by step instructions:
- Connect your iPhone or iPad to your Mac with the Lightning cable.
- Open QuickTime on your Mac by searching for it in Spotlight (⌘ + Space), or opening it from the Applications folder.
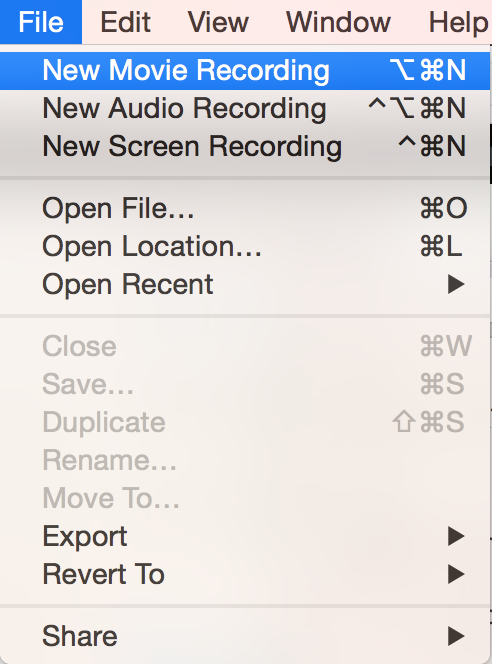
- In QuickTime, go to File > New Movie Recording
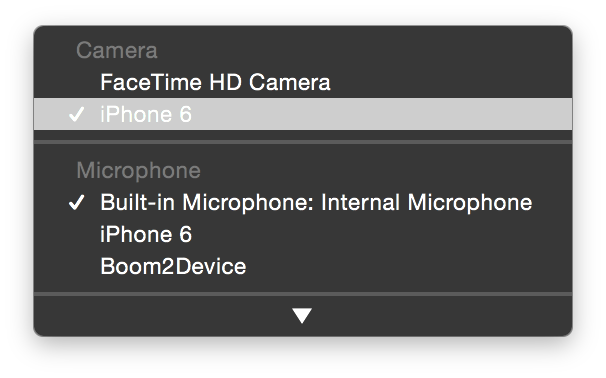
- Now click on the down arrow next to the red record button to bring up all the camera sources.
- Here, you’ll see your iPhone or iPad listed. Click on that.
- You’ll now see your iPhone’s screen in the QuickTime window. Click on the record button to start recording, and the stop button when you’re done.

Note: To make your video look better, iOS overrides the status bar icon with its default time, battery and carrier.
Apple built this feature primarily for developers to create app preview videos for the App Store, but it can be quite useful for normal users too. Let us know how you plan to use it in the comments below.
