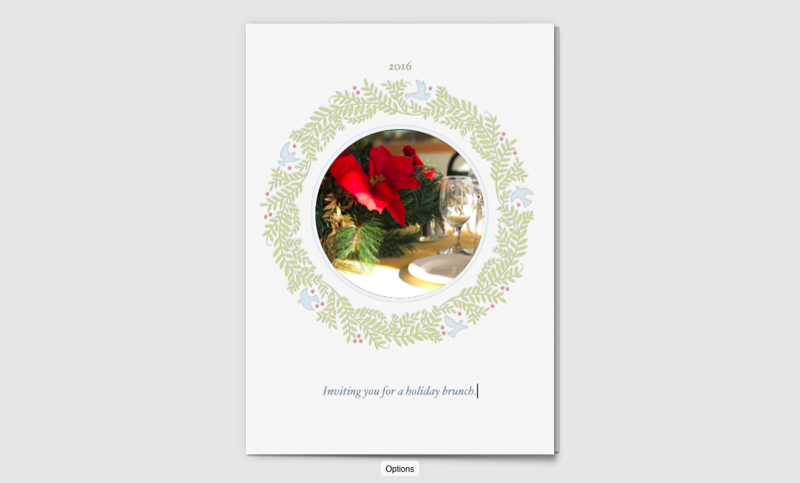
’Tis the season for sending and receiving memorable family photos and greeting cards. Most people have to go to the store to order their prints or use some complicated online Flash designer. Mac users (and at one point iOS users) on the other hand have a fantastic custom greeting card designer built right in.
A lesser known feature of the Photos app is one it imports from iPhoto back in the day: the ability to create beautiful prints. The app lets you take photos from your library and make calendars, photo books and yes, greeting cards. Apple prints and ships them to you.
Check out how to create your greeting cards this year using Photos and tips to perfect them.
Create Greeting Cards in Photos for Mac
To create your greeting card, first click the Projects tab in the navigation. Click the + icon to see your options, then select Card.
Photos lets you create three different types of cards. Over on the right is your cheapest option: 4×6 flat cards. They’re double-sided with the form factor of a post card. They cost $0.99 plus shipping and include the envelope.
The middle option is your standard folded card. It’s a 5×7 card that includes a plethora of layout options and an envelope for $1.49 plus shipping. The options include dozens of themes in both portrait or landscape.

The last is the most expensive but most extravagant: letterpress designs. Apple describes these as “beautiful designs that are pressed into premium 100 percent cotton paper.” These are also foldable 5×7 cards and cost $2.99 plus shipping.
Choose select under any category to begin your project. You’ll have to choose a template but there are plenty to pick from. Many include themes for the holidays, family events, kids, flowers, etc.

Once you do that, all you have to do is just fill in the placeholders and Photos takes care of the rest. For foldable cards, you get to customize the front, inside and back. Flats just give you the front and back to work with. They’re laid out with intricate frames and designs already and it’s your job to drag in the photos.

Click Add Photos on the bottom right to import some from your library to use in the project. This makes it easier to only scroll through your picks while you’re working on it, rather than having to find relevant photos in your gigantic library every time. From the bottom, just drag your photos into the placeholder.

Once you’re all done, click Buy Card at the top and you’re all done. It’s a deceptively quick process. The shipping cost should be a few bucks and you can optionally upgrade to expedited if you need the card right away. Otherwise it should take about one to two weeks to arrive.
Tips to Improve Your Cards
While those are the basics to making your greeting card in Photos, you can do even more if you wish.
For instance, you can change the font, font weight, and other characteristics of the text. Photos doesn’t have any user friendly menu bars for this, but you can highlight changeable text on your card and then click the Edit menu and highlight Font. You’ll see from here that you can change the size, colors and more to customize the card to your liking.
That said, Apple does a pretty good job already at picking out fonts and colors to appropriately pair with the theme of the card.

Additionally, if you’re feeling unsatisfied with the theme or layout of your card, you can switch it up at any time. Next to the Buy Card button, click the card icon to change either the theme or the format and size. Changing the theme keeps your format (letterpress, folded or flat) and just lets you alter the content, but will keep any photos you’ve already added for the project. Changing the format lets you switch between one of the three and may raise or lower the price of the card. This menu also lets you enable or disable the Apple logo on the back.

One last note: there doesn’t appear to be a way to buy multiple cards all at once. It’s a shame since that would cut down on shipping costs, plus it’d clean up the checkout process into one single purchase. For now, you do have to go into each individual project and click Buy Card to place your order.
Once you begin or complete a card, you can see it alongside your other cards from the Projects tab to edit and/or reorder at any time.