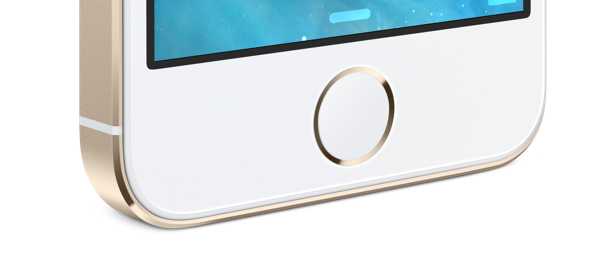
If you’ve just got your new iPhone 5s then one of the first things you should do is setup with Touch ID fingerprint sensor, which is one of the major features of the new iPhone.
The Touch ID sensor allows you to unlock the device without a passcode, and also approve purchases from iTune Store, the App Store, and the iBooks Store.
You can configure the Touch ID during the set up initial set up process, however if you decided to set it up later or want to add another fingerprint then we’ve you covered with this guide.
Follow these instructions to set up Touch ID or add a new fingerprint on your new iPhone 5s.
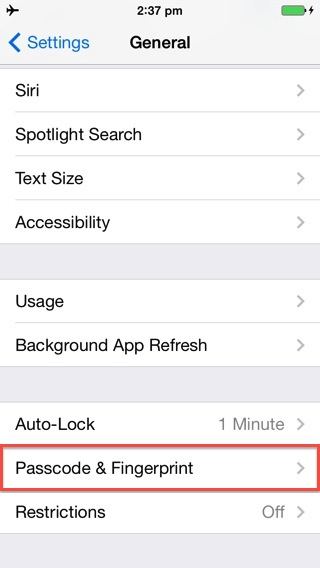
- Launch the Settings app and navigate to General > Passcode & Fingerprint.

- Enter the passcode if prompted.
- Tap on Fingerprints option.

- Then tap on Add a fingerprint…

- Place the finger or thumb which you want to add on the Home button. Lift and rest your finger on the Home button repeatedly. You will see that the fingerprint animation on the display fills up with red color as you progress. Move your finger slightly between scans. It should take less than a minute to set it up.

- After the entire fingerprint animation turns red, it will prompt you to adjust your grip to capture the edges of your fingerprint.

- Again place your finger on your Home button, this time however, lift and rest the edge of your finger on Home Button repeatedly.

- After the entire fingerprint animation turns red, it will inform that Touch ID was successfully set up, and this finger can now be used for unlocking your iPhone. Tap on Continue.

- This will add the finger under Fingerprints. You can follow the same process to add up to 5 fingerprints.
That’s it. You can now use your fingerprint for unlocking your new iPhone 5s. If you want to approve purchases on iTunes Store, the App Store and the iBooks Store using the fingerprint then tap on the iTunes & App Store toggle to turn it on.

The video should give you an even better idea of how to set up and use iPhone 5s’ Touch ID sensor:
Let us know how it goes, and please let us know your experience using Touch ID.