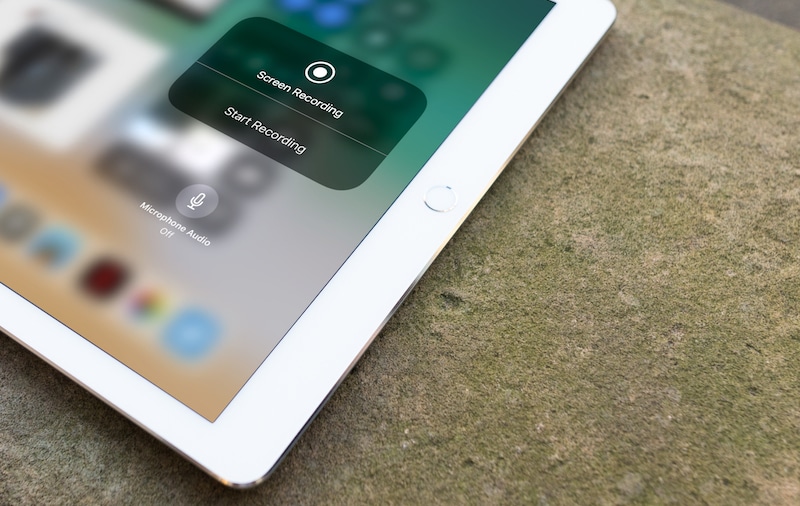
Recording your iPhone or iPad screen no longer requires a Mac or a workout. Apple is finally integrating this basic feature directly into the OS. Even though it’s a bit hidden, the feature is really useful. You can even record your microphone along with the screen.
This feature is going to make everyone’s lives easier – especially power users. You’ll now be able to create videos of how exactly to use a feature. Sharing what’s on your screen, with the world, using a social network like Twitter is a lot more frictionless. Even better? Remote tech troubleshooting for your family and friends just got a whole lot easier, folks!
How to Enable Screen Recording Control on iPhone and iPad
The screen recording feature is a bit hidden. It’s integrated into the new customizable Control Center. Let’s enable this control.
Step 1: Open the Settings app and navigate to Control Center.

Step 2: From here, tap on Customize Controls.
Step 3: Find the Screen Recording control and tap on the green + button next to it.

Step 4: Now it will be listed in the Include section. You can use the Handle at the end of the listing to reorder the control.
Screen Recording control has been added and we’re ready to go.
How to Record Screen on iPhone or iPad
Follow these steps to record your iPad or iPhone’s screen:
Step 1: On your iPhone or iPad, swipe up from the bottom of the screen to reveal the Control Center.

Step 2: You’ll see the Screen Recording control here. It looks like the standard recording button. If you tap on it the screen recording will start.
Step 3: Alternatively, you can long press or 3D Touch it to reveal more options. From here you can turn on Microphone Audio option. Tap on Start Recording to start recording the screen.

Step 4: Once the recording starts, swipe away from the Control Center and do the activity that you wanted to record.
Step 5: When you’re recording, you’ll see a blue bar at the top that also shows the recording time. Once you’re done, tap on the blue bar.

Step 6: This will bring up a popup asking if you want to stop recording. Tap on Stop to do just that.

Step 7: You’ll now get a notification saying that the video has been saved to the Photos app. If you tap on the notification, the Photos app will open.

From here you can share the video using the Share button, or edit it.
How to Trim Recorded Videos on iPhone or iPad
As awesome as this feature is, there’s a big glaring issue. When the video is saved, it contains both the part where you have to swipe away from the Control Center and the popup that shows up at the end.
If you want to share the video on a social network or you want to send it to someone, it’s best to remove these two parts so the viewer isn’t confused about what exactly is going down.
Fortunately, this is quite easy to do right in the Photos app.
Step 1: Open the Photos app and navigate to the video we just recorded.
Step 2: From here, tap on the Edit button. On the iPad, it’s the Edit text on the top-right. On the iPhone, it’s a slider-like button in the toolbar.

Step 3: In the editing view, you’ll see the entire view as an overview at the bottom. You’ll see two arrows at either side of the frames. These are the beginning and the end points.
Step 4: Tap and hold on the first arrow till it turns yellow and drag it to where you want the video to start. Go to the arrow at the end point and do the same.

Step 5: Now, tap on Done and select Save as New Clip. The new clip is all ready to be shared.

There’s More to Control Center
The new Control Center hides a lot of useful gems. Including an entire Apple TV remote, shortcuts for starting a new note, recording a voice memo, accessing magnifier and more. The new iOS 11 features don’t end there either. Come fall, you’ll get a new App Store, better multitasking on iPads, a new Files app and a lot more.
What do you think of the new Control Center controls? What will you be using screen recording for? Share with us in the comments below.
This post was updated on January 25, 2020.