Screen Time is Apple’s generic name for a new suite of digital wellness features in iOS 12. This unassumingly named feature will tell you everything you need to know about how you’re using your phone. And it will provide you with tools to help you reduce distractions, lower your iPhone usage or just block off some specific apps. There’s a lot going on here so let’s take it one sub-feature at a time.
Read more: The Best iOS 12 Features for iPhone
How to View Screen Time

Step 1: Open Settings app.
Step 2: Scroll down and you’ll find a new Screen Time section. Tap on it.
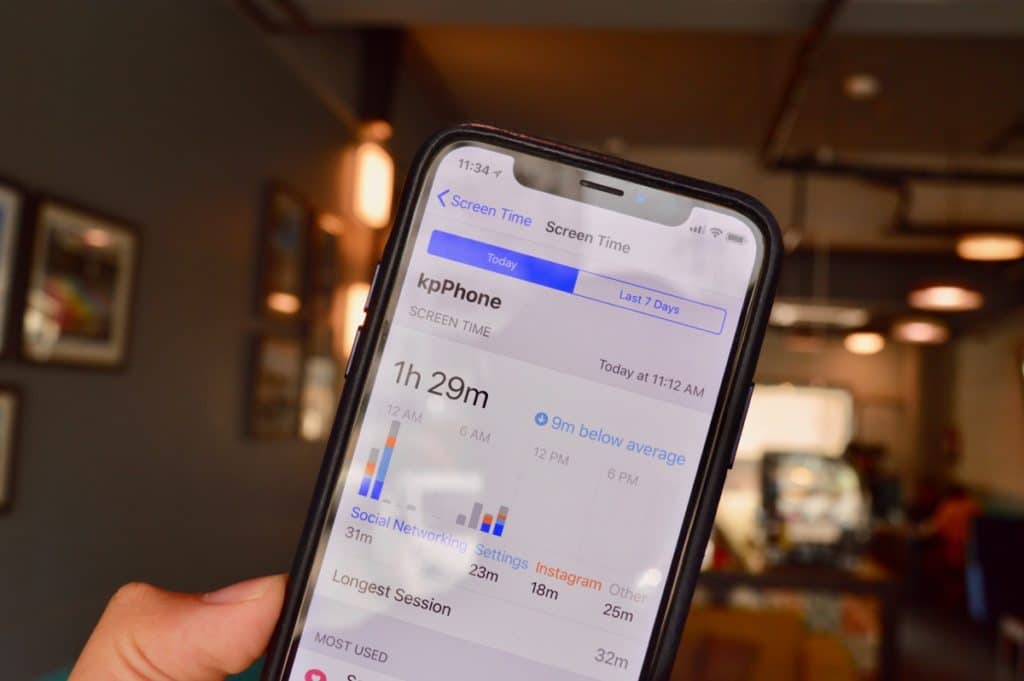
Step 3: Open it and you’ll see how much time you’ve spent on your iPhone or iPad right up top. The total time will be divided into categories like Social Networking, Messages, and Other. Depending on your usage, the category of apps and the apps themselves will show up here. You’ll also find the change over the average day here.
Step 4: Tap on the screen time and you’ll see a detailed view of your app usage. On top, you can switch from Today to Last 7 Days. The chart will give you an hour by hour breakdown of the time spent (in the week view, it’s day by day).

Step 5: Below you’ll find your app usage sorted in there different ways: Most Used, Pickups and Notifications.
Step 6: The Most Used section shows you the apps you’ve used the most. The Pickups section tells you how often you’re picking up your iPhone or iPad during the day (this number can be a bit shocking). For me, it was around 200 times a day, with me picking up the phone every 6 minutes. While this has been a super busy week of iOS 12 coverage, that’s still a really high number. This feature is working as indented already and I’m being more mindful about my usage.
Step 7: Below you’ll find the Notifications section. It tells you how many notifications you’ve received so far and the average for the day.

The apps that send you the most notifications are on the top. Right now you’re not able to tap on an app to take any sort of action. I would love it if Apple adds the feature to take you to the app’s notification settings from here.
How to Set Up App Limits

In the Screen Time section, you’ll find sections for Downtime, App Limits, Always Allowed and Content and Privacy Restrictions.
Let’s start with App Limits as this is the tentpole feature that the rest of the features revolve around.
Step 1: Tap on Add Limit from the App Limits screen.
Step 2: You’ll be asked to choose a category of apps. You can even choose all apps. But it’s safe to start with something like Social Networking and Games. iOS is pretty smart at categorizing apps so Social Networking will include everything from Facebook to Linkedin. Here’s a surprise, the Social Networking feature works in Safari as well. So if your limit is up, you won’t be able to visit the website in Safari either. It’s evil genius!

Step 3: Choose your category and then select the time limit. You can customize it on a per day basis as well. From this screen, you can only add limits on a category of apps.

Step 4: To add an App Limit for a specific app, you’ll need to use the Screen Time section. When you’re viewing the apps in the Most Used section, you’ll see an Hourglass icon (the little sand timer thing from your childhood that you definitely remember the name of and didn’t just Google “sand timer thing” to find out).

Step 5: Once you tap on the Hourglass icon, you’ll get the same App Limits screen to limit your time for the specific app.
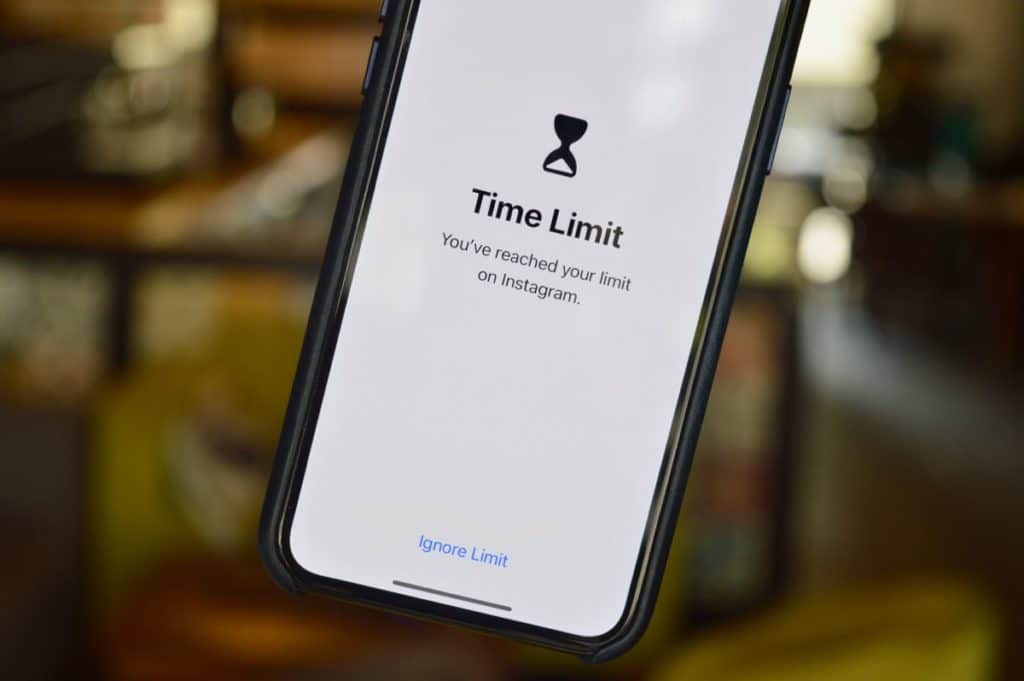
Step 6: As you’re getting close to the limit for the day, you’ll get a helpful notification. Once your limit is up, the apps will be faded on the Home screen. When you open the app, you’ll see a splash screen saying that the time is up. You can tap on Ignore Limits to ignore the limit for 15 minutes or the entire day.

How to Enable Downtime and Configure Allowed Apps

Downtime is the Do Not Disturb mode on steroids. When you enable Downtime mode, it will disable access to all apps and website (other than the ones in the Allowed Apps list).

If you’re the kind of person who keeps finding themselves looking at Instagram or Twitter during the night, you should enable Downtime. Just like Do Not Disturb, you can schedule Downtime to automatically kick in at a particular time.

But you’ll want to give some apps access even during night time. For me, it’s apps like Overcast and Music. From the Screen Time, tap on Allowed Apps to add apps to the Downtime exception list.
How to Enable Content and Privacy Restrictions
The Restrictions section from iOS 12 has been moved under Screen Time section and it’s been renamed Content and Privacy Restrictions. You can use this section to disable apps and features on your phone altogether.
If you’re using Family Sharing and you’ve set up devices to be your child devices, you can use the parent device to block access for specific features for child devices from here.
Related: Here Are the 20 New iOS 12 Settings You Should Know About
iCloud Sync and Screen Time Summary
Each week iOS will send you a summary of your device usage. The cool thing is that this will happen without you doing anything. If you’ve used the Activity app on the Apple Watch, the summary report will be similar, just that instead of your health activity, it will be your screen activity.
Plus, everything in Screen Time is synced across all your devices. So if you use Instagram on your iPad, it will be counted against your App Limit. That’s another loophole Apple has already thought about.
How Do You Use Your iPhone?
The iPhone finally has a reliable way to tell how exactly you’re spending your time. And this is a welcome addition. There have been apps like Moment but they were just hacks and workarounds. It’s nice to see a reliable default implementation.
What do you think of the Screen Time feature in iOS 12? Do you think it has everything you need for a more mindful iPhone usage? What more would you like to see in Screen Time in the future? Share with us in the comments below.